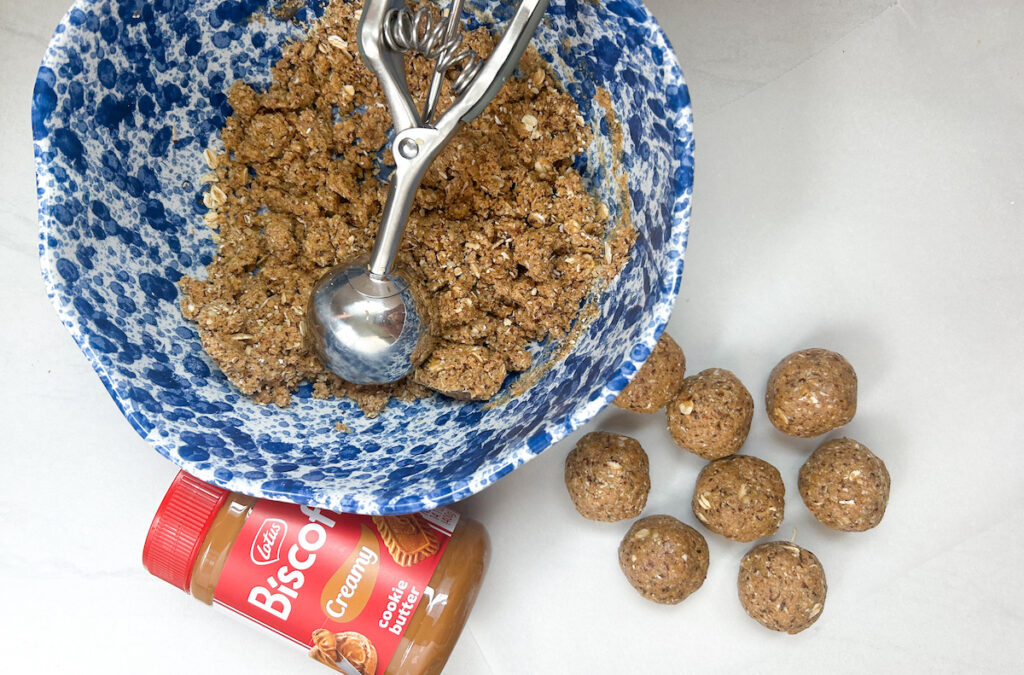
These Biscoff Protein Balls are a delicious and nutrient-packed snack, perfect for sneaking in extra protein! They’ve got a classic Biscoff flavor and a kid-friendly bite-sized shape. Perfect for snack time or a sweet treat!

Since they’re a no-bake recipe, these protein balls are quick and easy to prep during nap time or on a Sunday for a week’s worth of healthy, protein-packed snacks.
Let’s dive into what you’ll need and how to make these easy, no-bake protein balls.
Why Protein Balls Are the Perfect Kid Snack
There are so many reasons to love these protein balls. Whether you’re looking for a quick snack, an after-school treat, or an easy way to add more nutrients to your child’s diet, these protein balls check all the boxes.
- Balanced Nutrition – High in protein and healthy fats to help keep kids full and energized.
- Picky Eater Approved – The sweet, cookie-butter flavor makes them kid-friendly without any overpowering textures.
- Easy to Make Together – A fun, hands-on recipe that lets kids help in the kitchen.
- Customizable – Every kid has different taste and texture preferences, and these protein balls are a perfect base for adding their favorite mix-ins.
- Packed with Nutrition – Like smoothies, these protein balls blend everything together, making it easy to sneak in extra calories, fiber, or protein to support your child’s needs.
How to Make Biscoff Protein Balls

Blend the Oats
Blending the oats first gives these protein balls a smoother, more “cookie dough-like” texture—perfect for picky eaters! It also makes them easier to chew and digest compared to whole raw oats.
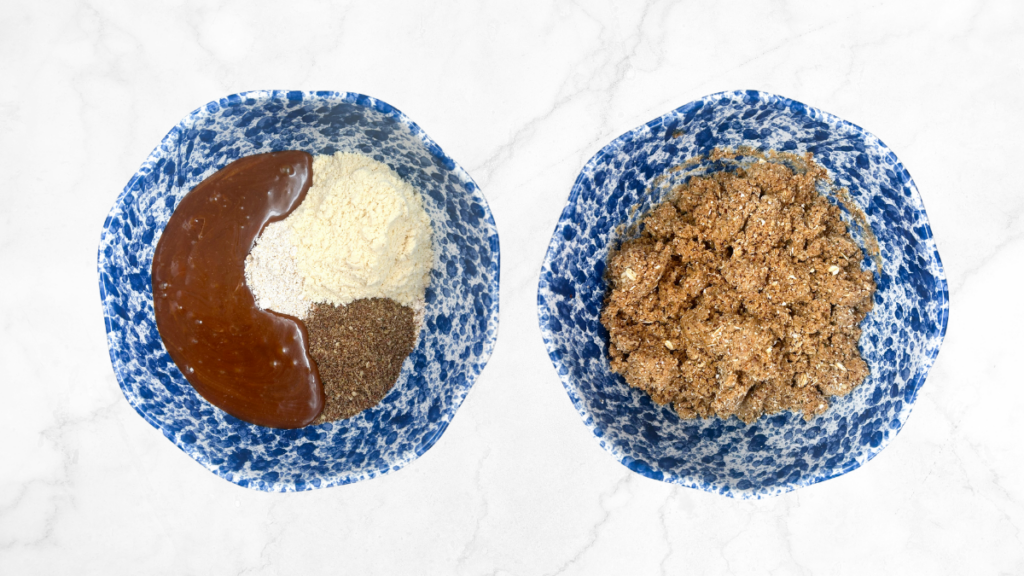
Mix All Ingredients
This step couldn’t be easier—just add everything to a large mixing bowl and stir until well combined. No fancy equipment needed!
You’re likely going to think there isn’t enough liquid ingredients because the dough is quite dry. But keep mixing! The dough will slowly become “play-doh” consistency and stick together. If you need to, add 1-2 tablespoons of maple syrup.
Roll Into Bite-Sized Balls
Scoop out the mixture and roll it into small, bite-sized balls. If the dough feels too sticky, lightly wet your hands to make rolling easier.
Refrigerate for Firmness
If you have the patience, pop the protein balls in the fridge for about 20–30 minutes. This helps them hold their shape and gives them that perfect cookie dough texture. But if you or your little ones can’t wait, go ahead and dig in!
Which Protein Powder Should I Use?
First, let’s be clear—kids don’t need protein powder. They actually need less protein per day than most people think! The reason I include it in this recipe is that it adds a small boost of protein in a tiny portion size, giving each ball around 3–5 grams of protein.
The best protein powders for kids meet these criteria:
- 20–30 grams of protein per serving
- Minimal added sugar
- Minimal sugar alternatives
- Minimal ingredients
My Top Picks:
- Naked Nutrition Whey or Pea Protein – No additives, very simple ingredients!
- Orgain – A kid-friendly protein powder with fewer artificial sweeteners than most brands.
- Thread – Specifically designed with teen athletes in mind, with added probiotics!
Any of these will work well in this recipe, but feel free to use your favorite or skip the protein powder altogether!
Customize for Your Family
These protein balls are incredibly versatile and can be easily customized to meet your family’s dietary needs and preferences.
For Gluten-Free:
These protein balls are naturally dairy-free, but to make them gluten-free, simply swap in gluten-free oats and use granola butter instead of cookie butter.
For Nut-Free Schools:
This recipe is naturally nut-free, but be sure to check the labels on your cookie butter and oats to avoid any cross-contamination if you’re concerned about nuts.
For Extra Protein:
Want to boost the protein content? Just add more protein powder and reduce the amount of oat flour. It’s an easy way to make them even more filling.
For More Texture:
If you’re introducing more texture to a picky eater, try blending the oats for a slightly shorter time to leave a little more chew. Or, add extra texture with mix-ins like pretzels or coconut shreds.
Mix-Ins:
Feel free to get creative with your mix-ins based on what your family likes! Here are a few of my favorite options:
- Nuts
- Slivered almonds
- Coconut
- Chocolate chips
- Pretzels
- M&Ms
- Dried fruit (like cranberries or raisins)
- Seeds (sunflower, chia, or flax)
- Mini marshmallows
- Hemp hearts
- Crushed biscoff cookies
Storage & Freezing
Refrigeration: Store these protein balls in an airtight container in the fridge for up to a week.
Freezing: For longer storage or easy grab-and-go snacks, freeze the protein balls. Just place them on a baking sheet in a single layer, freeze until firm, then transfer to a freezer-safe bag or container. They’ll keep for up to 3 months in the freezer.
Biscoff Protein Balls
Ingredients
- 1 1/2 cups oats
- ¼ cup flax seeds
- 1 tsp cinnamon
- ½ cup protein powder
- ½ tsp salt
- ½ cup cookie butter
- ¼ cup maple syrup or honey
- 2 tsp vanilla
Instructions
- In a blender or food processor, blend the oats and flax seeds until they form a fine powder (skip this step if you are using oat flour or have pre-ground flax seeds)
- In a large mixing bowl, combine the oat-flax mixture, cinnamon, protein powder, and salt.
- In a separate smaller mixing bowl, combine the biscoff cookie butter, maple syrup, and vanilla. Microwave the mixture for 30 seconds and stir to fully combine.
- Combine the dry and wet ingredients. Mix until a dough forms. (You're going to think there isn't enough wet ingredients, but there is! Just keep mixing!)
- Form the mixture into 16 equal-sized balls. Store in an air-tight container in the refrigerator for 15-20 minutes for dough balls to harden slightly
This post may contain affiliate links, meaning I will receive a commission if you deicide to make a purchase through my links, at no cost to you. For more information, please read my Terms of Use and Service.

